


Hello readers, sorry for not being active these days, anyway today I'll teach you how to make your own cursor using Picmonkey, so follow these steps to get your cursor ready for use!


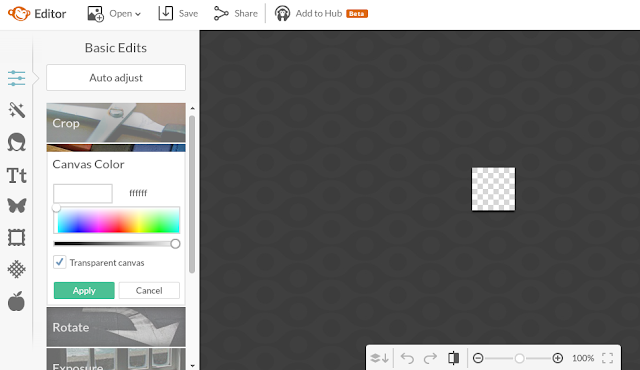
2. Go to Picmonkey ➨ Design ➨ Custom, then enter the size of your cursor (32x32/64x64/72x72 are the perfect sizes to use for a cursor). For me I chose 64x64
3. Click on "Transparent canvas" because the cursor should be transparent.
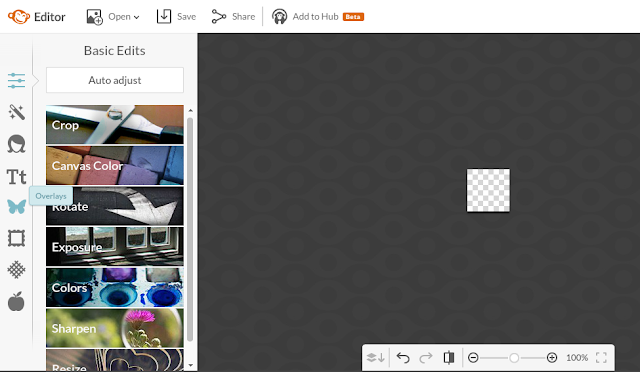
4. Click on the the butterfly (Overlays) ➨ Add your own ➨ Open the icon you saved.
5. Now you can edit your cursor the way you want (add a text, sparkles, hearts...), this is the one I just edited.

6. Save your image now, make sure to save it as png.
To use the cursor in your blog :
• Go to your Blogger Dashboard ➨ Template ➨ Edit HTML
• Find the </head> tag
• Just before </head> paste the following code :
<style> body, a, a:hover { cursor:url(Your cursor url), auto }</style>
Now, you've made your own cursor, leave a comment and tell if this tutorial worked well on your blog or if you have any question feel free to drop it below! 

Done follow you :)
ReplyDeletethank you! ☺
DeleteDone follow :) Btw, you can add follower widget like mine by following this tutor http://kawaiilady.blogspot.com/2012/12/letak-follower-gadget.html easier for people to follow ^^
ReplyDeletethank yoou! :)
Delete